By Kristie Parker
I know I’m not the only one.
Tons of people avoid it.
We make excuses. “I don’t have time.” “There are more important things.” “My cat won’t like it.” You get the idea.
Because yes, it’s true: Us small business owners need quality photos of our own sweet little mugs on our websites, but, frankly, if you don’t have much experience posing for a professional photographer, no matter how great she is, it’s awkward.
And when you feel awkward you end up with cheesy frozen smiles and wooden mannequin poses. Remember that 6th grade school photo with the laser background?
It’s enough to make us want to keep hiding behind impersonal stock photos. Am I right?
That being said: We can’t ignore reality. Our websites look straight scammy without photos.
Plus, we’re missing out on connecting with our visitors and giving them a way to remember who we are, differentiating us from our competition.
When my husband and I launched our web design business we made a list of all the things we needed to do to get it off the ground, and at the bottom of the list? You guessed it.
It was time to step out from behind the laptop and get in front of the camera. And because we were on a budget we decided to DIY it.
I made a deal with myself. I’d do the research, comb through advice from brand photographers and models, and give it a go on my own.
And if the photos came out terrible, I’d suck it up and hire a professional.
It took longer than I thought to do the leg work. And it gave me a real appreciation for the pros. After this process, I get why they’re paid the big bucks.
I sorted through tons of articles, watched YouTube tutorials, and subscribed to more blog newsletters than ever before. After some trial and error I got the hang of it.
And I’ll share with you all the highlights so you don’t have to waste effort or money. This cheat sheet will teach you everything I learned in a fraction of the time.
Is It Really That Important?
Within a few seconds, people have formed an opinion of you. You can’t step through the computer and charm your website visitor in person, so you have to rely on the next best option: A welcoming image of your warm genuine smile.
When people visit your website they should immediately know exactly what your business does. You might have a tagline or motto highlighted on your homepage for this reason. Images of you doing your job are crucial to reinforcing this message.
Plus, some people don’t read. They look at pictures, so we need both.
Which means that images have a stronger influence on your visitor’s first impression than words do. Make sense? Cool, let’s dive in.

If you just start randomly taking snaps, you’re doomed. You’ll need to take a few minutes to consider who the heck will be looking at these pics and why.
Your audience needs to be able to relate to you and believe that these pics are authentically you.
But you can’t just take pics of you doing random stuff you like.
Remember this is your opportunity to connect with your audience. Show them who you are in a context they can understand.
If you want new customers to get to know you and trust your law firm to draw up their divorce agreement maybe don’t show yourself cannonballing into the pool?
And give them a peek behind the scenes.
If you own a landscaping business, show them what your day looks like so they can imagine the smell of freshly-planted lavender, hear the rumble of your state-of-the-art lawn mower, and feel the balmy Florida-morning air as you begin transforming their yard.
What do you want your photos to say to someone who’s visiting your website for the first time?
Do you want them to see you as a reliable professional?
A whimsical and charming cake maker?
Delivering speedy customer service with a smile?
For example: I run a website design company. Maybe people want to see me working at a computer or chatting with a client on the phone so they can picture me working on their project.
How confused would they be if I just posted pics of me shopping at Kerby’s Nursery (shoutout to the best plant store in Tampa) or shoving breakfast burritos down my gullet.
Sure, I like those things, but they don’t make sense when people are trying to visualize themselves working with me. Which brings us to…
I made one on Pinterest. I saved images of people doing stuff that I do on a normal day of work. Writing in a notebook, calling clients, drinking coffee.
It wasn’t just what they were doing, but how they presented themselves while doing it.
I saved images of different smiles and body positions. The way someone put her pen in her mouth lost in thought reminded me of what I do when I absentmindedly noodle on something. I also paid attention to looks I didn’t like: bare feet, frowns, and corporate suits.
Someone gave me a good tip: Don’t just search for images of people in your industry. It’s interesting and unusual to take inspiration from other places too.
We’re not a stuffy, snobby website company so I don’t want to emulate one. I grabbed ideas from bloggers, artists and other types of designers.
A doy! (sidenote: doy is a valid Scrabble word.) I know, this one’s obvious, but still; practice using your camera before the day of the shoot. My husband owns a Canon M50 so we used that. Some people take phenomenal photos with their phones, and, remember, you can edit later.
Whatever device you use, there are tons of YouTube videos to help dial in your skills.
Click here to see the tutorial I watched for the Canon M50.
We found it helpful to use a tripod, but it’s not necessary.
This is a video of a woman who takes impressive photos with her iPhone propped up on a shoe.

I wish I had paid more attention to this for my wedding photos. A couple quick tips would have helped me relax, but oh well.
Reminder: You’re showing people what you look like as you go through a typical day so no need to lean on a motorcycle brooding and wearing expensive aviators (unless you own a bike shop and that’s your style, then by all means). Be you.
I watched/read advice from models for this and here are the highlights that helped me:
A. Move. Don’t just pose. Standing frozen feels weird and it shows on camera. Walk forward and back. Put your hands in your pockets, then cross them in front of your chest, then put them in your belt loops. Or don’t. Just keep moving.
C. Look into the lens, not at it. Sounds stupid but it works.
D. Bad posture is unflattering. And it makes people think about the fact that you’re in serious need of some foam rolling instead of thinking about hiring you to groom their dog. Tighten your core and pull your shoulders back.
E. Think “angles”. I can hear you rolling your eyes, but standing straight-on to the camera with your arms at your sides is not your best look. Instead, separate your limbs from your body.
Hand on your hip, one leg crossed in front of the other, all of your weight on one leg and push your hip out. When sitting try separating your legs, cross them, or make one straight and the other bent.
F. When we feel uncomfortable we tense up. Putting your tongue on the roof of your mouth will help relax your face muscles. So will laughing so when all else fails, think of this:
G. Do you spend a lot of time interacting with customers in person? Consider a few pics with someone else in the frame with you. Smile, shake hands, show them the plans for their new kitchen reno, whatever you usually do in a meeting.
My husband and I took photos together so it was easy to get individual shots. You can do it yourself, but it takes longer to set the timer for every shot and it’s harder to get candids.
When we needed to get shots of us together, we set the camera on a self-timer and it snapped several pics in quick succession.
It was also helpful to have someone as a sounding board for the tough questions: Is the camera on? Does this look weird? Is my hair okay? Is my fly down?
To get mileage out of this shoot you’ll need to change your clothes at least once so it doesn’t look like all of the photos were taken on the same day.
Wear clothes that make you feel comfortable, but also put-together aka not sweatpants and your oversized Golden Girls t-shirt. You can’t go wrong with wearing an outfit you would meet first-time clients in.
Choose your clothes the day before the shoot so you can get the ironing out of the way and set out jewelry and shoes.
Roughly an hour after sunrise and an hour before sunset are often referred to as “golden hours” for photos. The low angle of the sun makes pictures look warm and gives the subject a glow.
Something to consider if you’re photographing outdoors. This is another advantage of staging your own shoot vs. scheduling an appointment with a professional. You can take snaps at different times of day and if the weather doesn’t cooperate, you can change the date.
When you’re inside it makes sense to stay near a window for extra light. We couldn’t do that with some of our shots so we took the shade off of a big lamp and just moved it around the house.
I didn’t sweat it much, you don’t want your photos to look overproduced anyway. And you’ll be able to brighten them up with editing tools later.
This is where your Pinterest board will come in handy. Scroll through the images you saved and write down exactly why you like them. Is it the casual way the person is close-mouth smiling while seated at her desk with her chin resting in her hand? Write that down.
Don’t run the risk of missing out on a shot you really wanted because you completely forgot, write it down and check it off as you shoot.
If you want to see my shot list email me at hello@bungalowwebdesign.com and I’ll send it to you.
All of the small touches add to the sensory experience of your viewer. Wrapping yourself in a cozy flannel blanket cuddled on a soft couch cushion with a mug of steaming hot chocolate will provide a much different vibe than a wood desktop where you’re studiously typing on a computer, with a stapler and pile of encyclopedias in the frame.
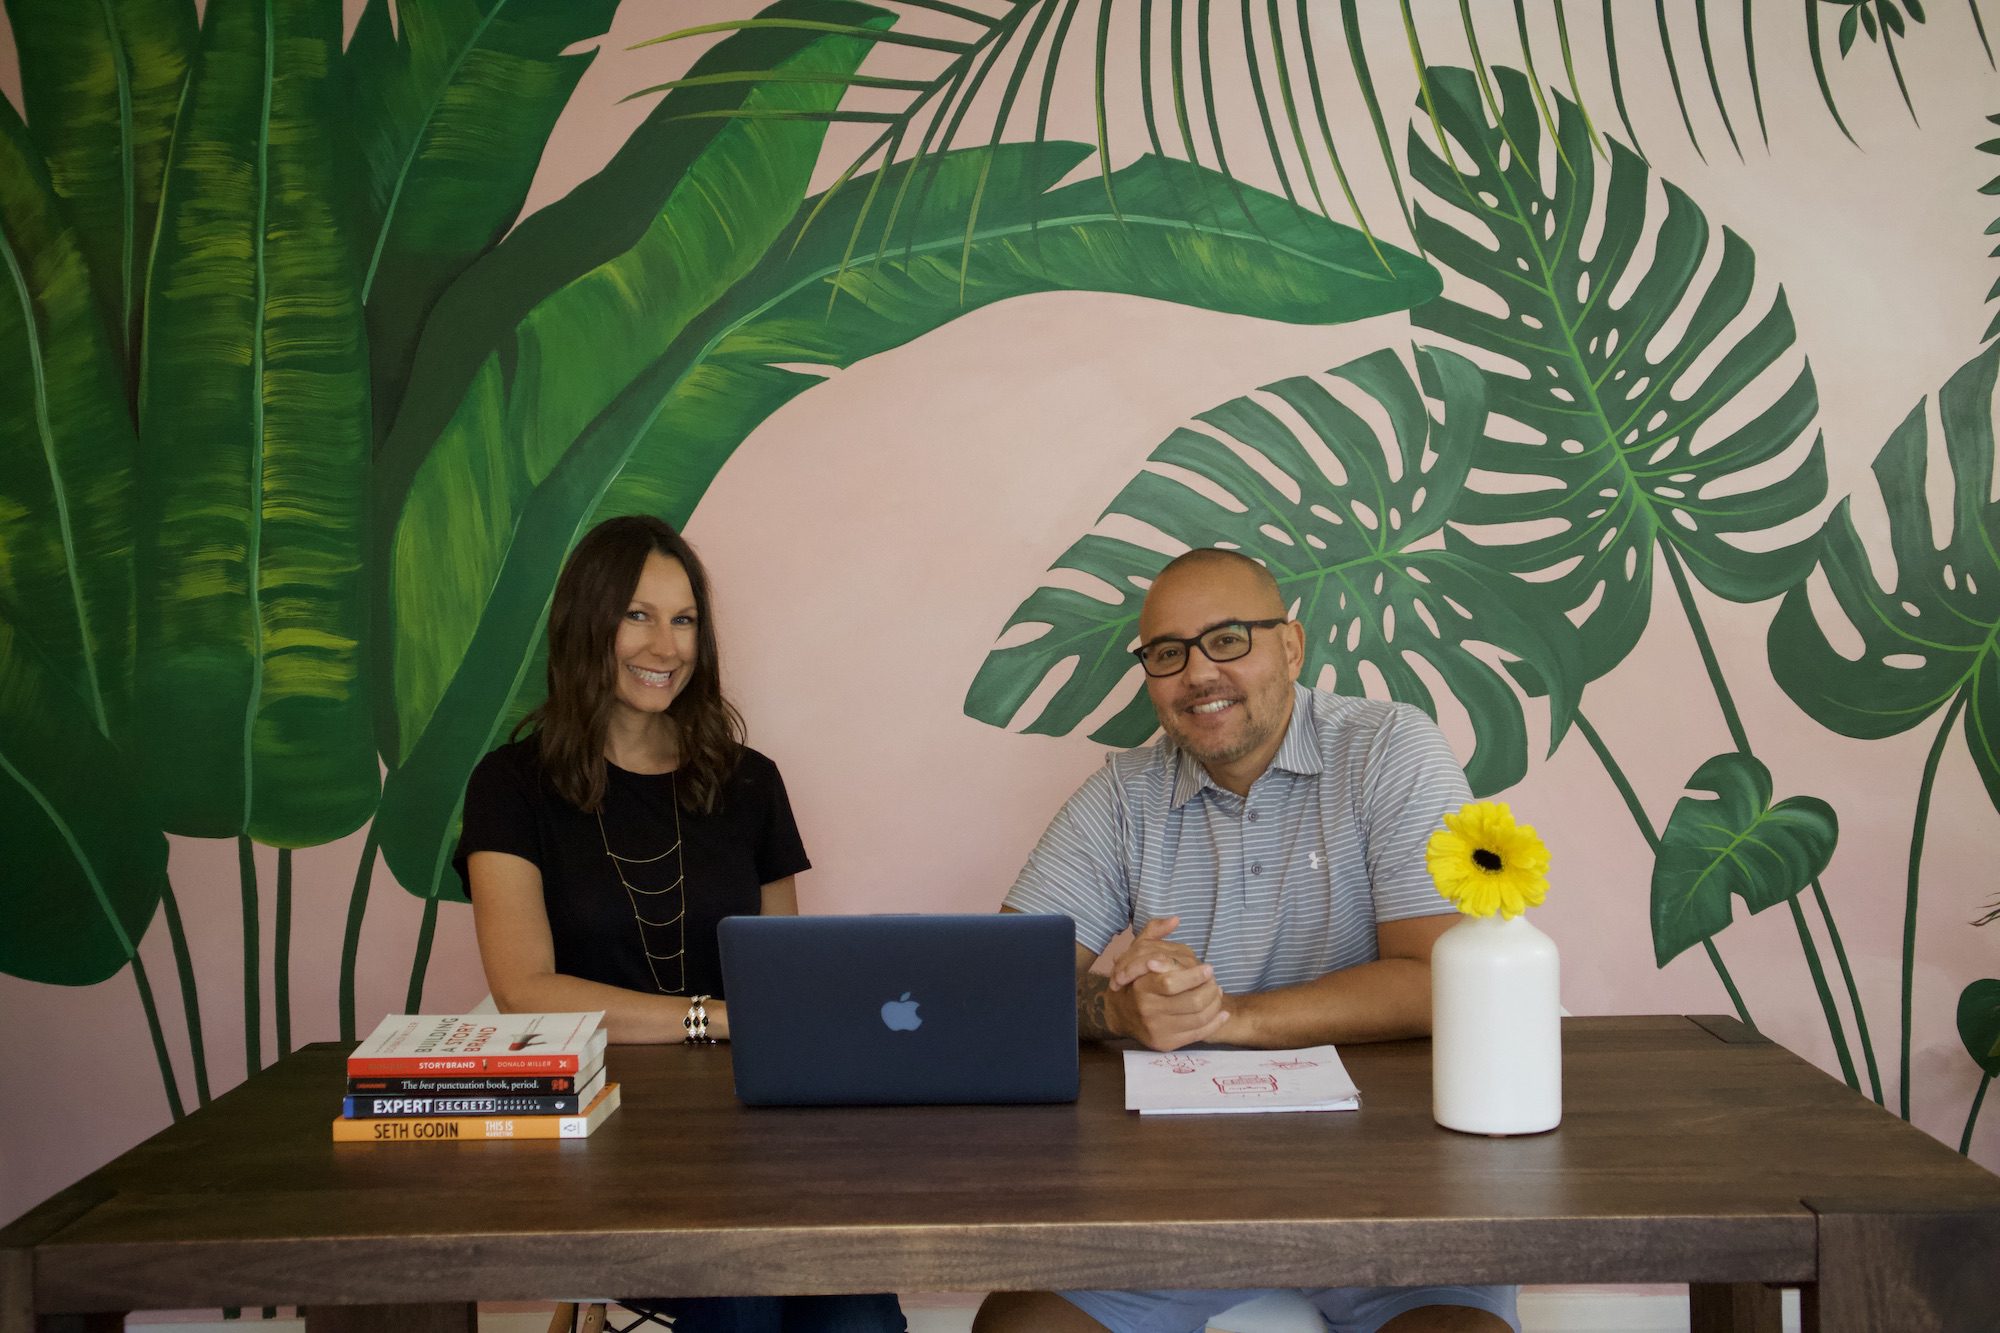
My husband and I work from home and have lots of plants in our living space so I made sure to incorporate them into our pics along with our favorite coffee mugs and the marketing books that we constantly refer to.
Consider props that are familiar to your industry. Are you a hairstylist? Show us what it’s like when you use your scissors. A landscaper? Let’s see your garden tools.
People will equate the quality of the photo with the quality of your service. A dark, blurry photo is an awful first impression, isn’t it?
Your photos evoke emotion so pay attention when editing. Use darker, more contrasting light if you want it to feel moody. Use a really light, bright room to convey happiness and a blue hue will give the feeling of tranquility.
Canon and Nikon both offer free software that is easily downloaded onto your computer if you own a camera from either brand.
If you took your photos on an iPhone, you can use the edit function or download a free app and if you have another brand of camera try free photo editing software like Photoscape X.

You can use your photos in fun, unexpected ways on your website. Maybe you have a special holiday offer you want to draw attention to. A strategically placed image of you “looking” at the offer will get more attention than the offer alone.
It’s been scientifically proven that viewers will look where the person in the photo does. So look left, right, up, down and over your shoulder. Point left and right. Leave some space at the top of the photo in case you want to add text there later.
It’s easy to make excuses for not doing the things that make us feel uncomfortable, and because we’re our own boss no one can make us do anything.
The trouble is: sometimes we leave important tasks on the backburner. “I’ll get to it later” becomes a stand-in for “I’ll get to it never.”
Do you want more customers? Do you want to be recognized as an expert? Do you want to show people how passionate you are about your business?
Then you need to connect with your audience. Show them who you are. And you can do that by displaying a warm, genuine image of yourself on your website.
Focus on the thing that will bring in more business. Create a killer website that will do work for you.
Opening your mail, shuffling paperwork, taking out the trash – that’s busy work. It keeps us distracted so we don’t feel guilty about neglecting the parts of our business that may not come easy, but are crucial for success.
It’s a place for you to describe in detail exactly what services you offer. And it’s most people’s first impression of you.
Will you give them a chance to see you in action so they can picture themselves working with you? I hope so.
If you’ve been procrastinating getting images for your website get to work. It’s time for your photoshoot. You have the tools. I know you can do it. If you need some help along the way, email me at hello@bungalowwebdesign.